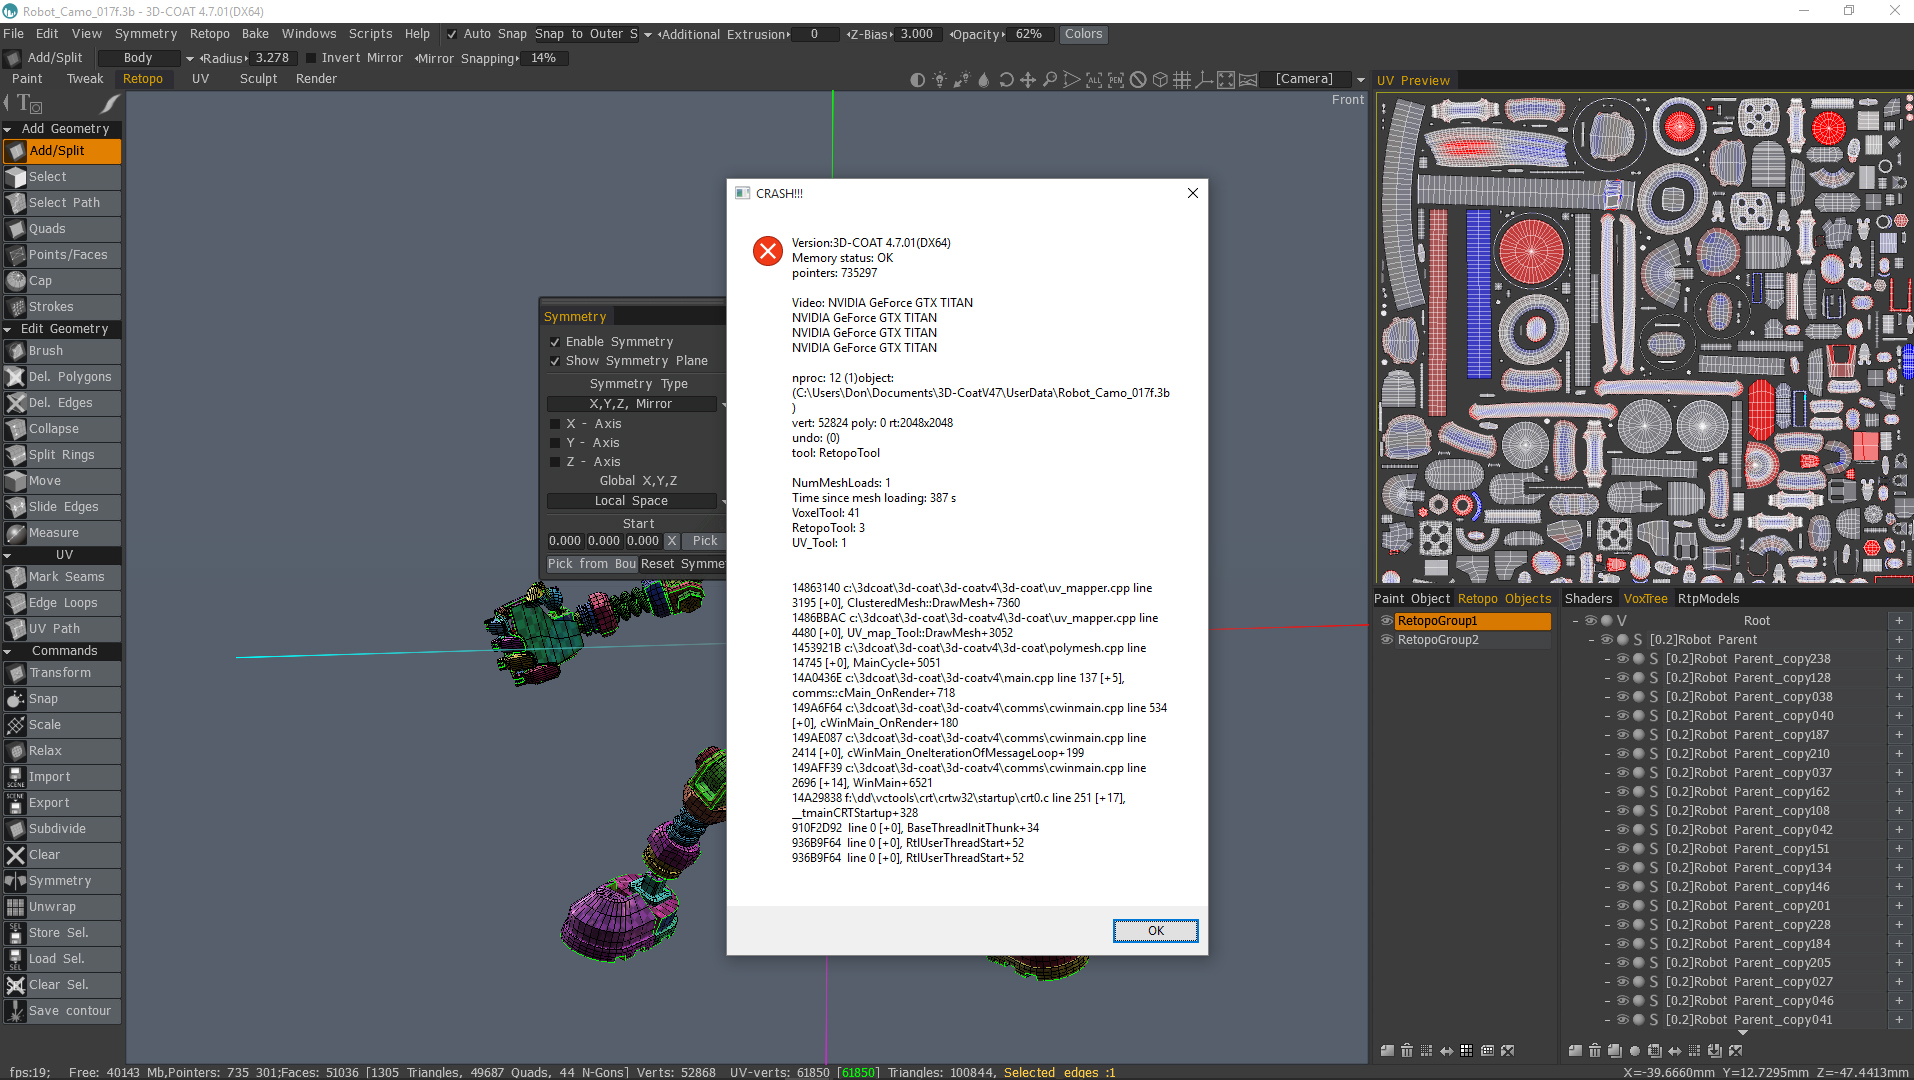
3d Coat 45 Crack
вторник 25 декабря admin 65
3D Coat Crack latest is the best tool of Pilgway which is managed to compose vacant-form original or troublesome surfaced 3D illustrations. 3D Coat v4.8.25 Crack +. Why don't you post up the LW scene/etc and give people a crack at replicating.
In, we invite Sketchfab artists to talk about one of their designs. My name is Maria Panfilova. I’m a 3d character artist from Russia. In this article I will show you how I made the Wizard Cat. I’m going to share with you some of techniques I use. I made it using ZBrush, Maya, Substance Painter, 3DCoat and Photoshop. Regarding the handpainted textures, there are two ways to work: starting from lowpoly and painting all the volume and details from scratch starting from a highpoly model and then baking it to lowpoly I prefer the second way because for me it’s more predictable and the result is very close to what I see inZBrush. And it’s fun! I can’t miss an opportunity to sculpt more! It seems to me that more and more artists today prefer creating hand painted models from a highpoly sculpt.
First of all I want to reccommend some tutorials I found useful for me. • Marc Brunet – • Ryan Ribot – They both use Maya, ZBrush, 3D-Coat and Photoshop. So let’s start with my project.
Inspiration I can’t say how much I admire Ryota Murayama`s works. All of his shapes are pure cuteness! I wanted to soak in his beauty as much as I could and create a similar character style. So I collected a huge amount of references with this style. Not only of animals, but also RPG human characters. When I create personal work I spend a lot of time studying references and returning to them over and over. I find this critical to improving the level of my work. When you see how people use form and choose colors, you start to do the same intuitively.
Let me give an example. When I’m modeling a cat paw, I’m not just doing it from memory, or from photo references, but I also check out how other artists stylize cat paws. And the same process covers all parts of the character. Design What I had in mind was to make a party of three characters – Archer, Mage and a heavily armored guy. And I wanted them all to be standing in some epic pose facing danger 🙂 What animals could they be? For Archer, it should be something sneaky like a fox or racoon.
For the heavily armored guy, it should be something big like a bear, and for Mage well, cats are magical creatures 🙂 So this is my first sketch of three of them: The key thing when you making a concept in ZBrush is not to worry about tools, but be familiar with them because your mind must be free from anything else but the design of the character. Gdz po soljfedzhio 3 klass davidova zaporozhec. If you are not familiar with ZBrush tools yet, I would recommend that you make 2D concepts first or practice with other people’s concepts. It’s very valuable for improving your skill too! When you are concepting, don’t forget to switch to flat shader to check the silhouette. It’s like a flipping canvas in photoshop – it helps to refresh your mind and see the overall look. Later I realised that making 3 characters at once is too big a task for my schedule, and I chose one to continue. For stylistic modeling I recommend that you try. I love them.
Especially the Orb crack brush. I use it everywhere. I made colors in ZBrush too – we can use them later. Flat colors will be more useful than detailed polypainting but you can do both. Flat color will be used as an ID mask. Polypainting can be used as a texture base.
There are a lot of sources on the internet that can help you find the right colors for your project. Some of them that I would recommend are. Of course color is a deep subject and requires a lot of study and practice.
Everytime I wanted to stick to a specific color scheme that I chose beforehand, it was a failure. So the best decisions that I make are more intuitive. But eitherway, I always try to find out whether the colors combine with each other and determine how much of each color to use.
For coloring, I make autogroups and turn on “mask by polygroups” (in the brush pallete at the picture below) so I can paint meshes separate from each other. If you want just to fill meshes with color you can also set focal shift to -100 (hard brush) and turn off pressure sensitivity in the brush palette.
BMW Standard Tools 2.12 – Install First • Includes (EDIABAS v.7.30, Tool32 v.4.03, BMW INPA Software v.5.06, WinKFP v.5.31 & NCS Expert v.4.01). 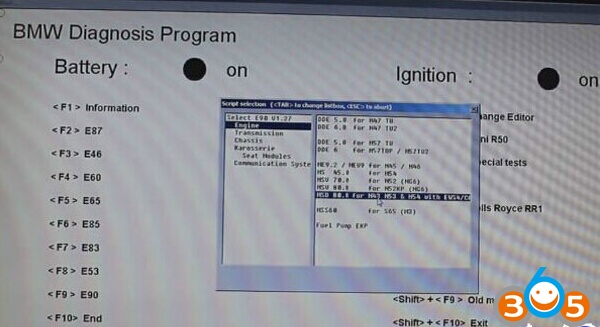 • Note: DISABLE WINDOWS FIREWALL ANY ANY VIRUS SOFTWARE. INPA_Fxx_v.2 – Install Second • Copy INPA_Fxx_v.2 folder to C: EC-Apps INPA_Fxx_v.2 and EDIABAS to C: EDIABAS overriding existing EDIABAS Folder. BMW INPA Software Download Free: BMW Standard Tools and INPA 5.0.6 Download Link (unknown security) BMW INPA software 5.0.2 (tested without issues, safe to use) BMW INPA Software Download Compatible Hardware: BMW Interface How to installed the BMW INPA Software? • Run INPALOAD.exe from INPA_Fxx_v.2 BIN folder (C: EC-Apps INPA_Fxx_v.2 BIN INPALOAD.exe).
In fact, you don’t need to make a very clean sculpt. The most critical thing is the overall silhouette because you will make a lowpoly from it. But all other inaccuracies can be fixed by painting. So the more you sculpt, the more information you provide in your future map, but you can paint all these details much faster. Anyway, I made a quite clean sculpt because I just wanted to be sure. I trust my sculpting skills more than my drawing ones.